Ultimate Honeycomb Crunch Chocolate Tart
Experience our Honeycomb Crunch Chocolate Tart recipe—an indulgent chocolate dessert delight. Make yours today!
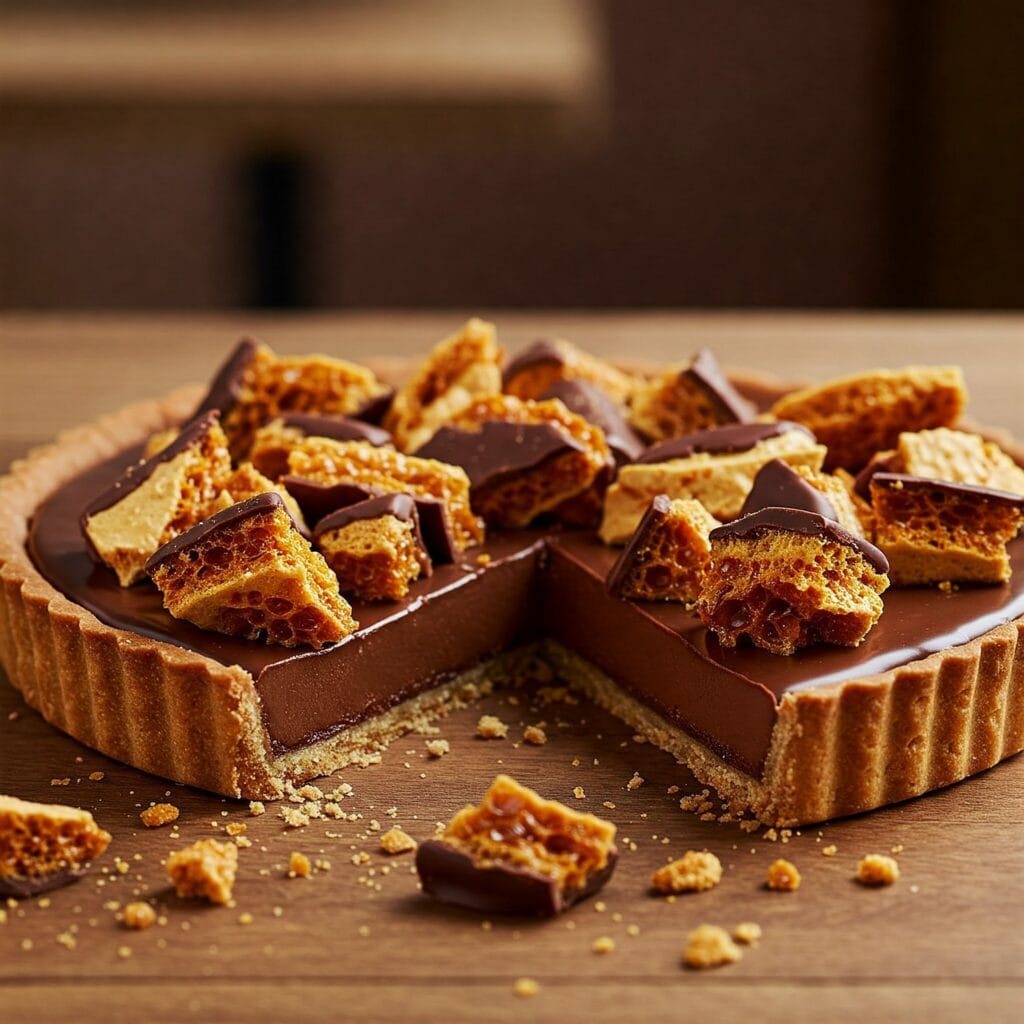
Table of Contents:
- Introduction to Decadent Desserts
1.1. The Inspiration Behind the Tart
1.2. Culinary Trends in Chocolate Desserts
1.3. Setting the Scene for Innovation - Essential Ingredients and Their Benefits
2.1. Honeycomb Crunch: The Star Ingredient
2.2. Premium Chocolate: Quality and Texture
2.3. Complementary Flavors: Nuts, Sea Salt, and More - The Art of Crafting the Tart – Detailed Preparation
3.1. Prepping the Honeycomb Crunch
3.2. Melting and Tempering Chocolate
3.3. Assembling the Tart Layers - Step-by-Step Food Preparation: 10 Essential Steps
4.1. From Start to Finish - Expert Cooking Techniques and Tips
5.1. Temperature Control and Timing
5.2. Balancing Sweet and Salty Flavors
5.3. Troubleshooting Common Issues & Actionable Tips - Real-World Case Study: Transforming a Bakery’s Signature Dessert
6.1. Background and Challenge
6.2. Implementation and Execution
6.3. Outcomes and Lessons Learned - Frequently Asked Questions – People Also Ask
7.1. What makes this tart different from other desserts?
7.2. How do I achieve the perfect honeycomb crunch?
7.3. Can I substitute ingredients for dietary needs?
7.4. What type of chocolate is best for this tart?
7.5. How do I store the tart for maximum freshness?
7.6. Is this recipe suitable for special occasions?
7.7. What are the nutritional benefits of this dessert?
7.8. How long does it take to prepare? - Key Takeaways
- Final Thoughts and Future Inspirations
9.1. Encouragement to Experiment
9.2. Sharing Your Creations
9.3. Staying Inspired in the Kitchen
1. Introduction to Decadent Desserts
In a world where dessert trends evolve as quickly as the seasons change, the allure of innovative, mouthwatering sweets never fades. Picture an indulgent creation that promises a delightful mix of textures and flavors—where crunchy surprises meet velvety smoothness in every bite. This post sets the stage for an extraordinary culinary adventure that reimagines dessert with a contemporary twist.
As we journey into the realm of gourmet confections, our focus gradually sharpens on a dessert that marries tradition with innovation. Later in the introduction, you’ll discover how the Honeycomb Crunch Chocolate Tart stands out as a show-stopping treat, fusing the irresistible charm of honeycomb crunch with rich, decadent chocolate. This blog post not only guides you through every detailed step of its creation but also offers insider tips, real-world examples, and expert techniques to ensure your tart turns out flawlessly every time.
2. Essential Ingredients and Their Benefits
Every exceptional dessert begins with high-quality ingredients that work harmoniously. In our exploration of this unique tart, we uncover the secrets behind each component and why they’re indispensable in creating the perfect dessert.
2.1. Honeycomb Crunch: The Star Ingredient
The honeycomb crunch element is not just a garnish—it’s the heart of the tart. Its airy, caramelized texture provides a delightful contrast to the smooth, rich chocolate filling. Often made by carefully cooking sugar until it forms a brittle, crunchy lattice, this ingredient offers both flavor and a visual treat. Its natural sweetness and slight bitterness add layers of complexity to the dessert.
2.2. Premium Chocolate: Quality and Texture
When it comes to chocolate, quality matters. Using premium, high-cocoa content chocolate ensures that the tart has a deep, intense flavor profile. The chocolate’s luxurious melt-in-your-mouth texture is enhanced by precise tempering techniques, which stabilize the chocolate and give it a professional finish. Whether you choose dark, milk, or a blend, the chocolate base is essential for balancing the sweetness of the honeycomb crunch.
2.3. Complementary Flavors: Nuts, Sea Salt, and More
Additional ingredients like finely chopped nuts, a pinch of sea salt, and a hint of vanilla extract serve to elevate the overall flavor. The salt cuts through the sweetness, intensifying the chocolate’s rich notes while the nuts add a subtle crunch and earthy dimension. Each complementary flavor plays a role in creating a harmonious dessert experience.
3. The Art of Crafting the Tart – Detailed Preparation
Creating a dessert that dazzles both the eye and the palate requires careful planning and execution. Here, we break down the crafting process into three crucial phases.
3.1. Prepping the Honeycomb Crunch
Before incorporating it into the tart, the honeycomb crunch must be prepared with precision. This involves melting sugar, carefully monitoring its caramelization, and then allowing it to set in a thin, crisp layer. Once hardened, the honeycomb is broken into irregular, bite-sized pieces that add texture and visual interest.
3.2. Melting and Tempering Chocolate
The process of melting and tempering chocolate is a delicate art. Begin by gently melting your chosen premium chocolate using a double boiler or microwave in short bursts. Tempering the chocolate—bringing it to the correct temperature and then cooling it—ensures that your tart has a glossy finish and a satisfying snap when broken.
3.3. Assembling the Tart Layers
The construction of the tart involves layering a buttery, crumbly base, a velvety chocolate ganache, and the crunchy honeycomb. The base should be pre-baked to create a solid foundation, while the ganache is poured over and allowed to set slowly. Finally, the honeycomb pieces are artfully sprinkled on top, ensuring every slice delivers a balanced mix of textures.
4. Step-by-Step Food Preparation: 10 Essential Steps
Crafting this dessert requires methodical attention to detail. Follow these ten steps to achieve a flawless Honeycomb Crunch Chocolate Tart:
- Prepare the Tart Shell: Begin by combining crushed biscuits with melted butter and a pinch of salt. Press the mixture firmly into a tart pan to form an even base.
- Pre-Bake the Shell: Bake the crust in a preheated oven at 350°F (175°C) for 10 minutes until lightly golden. Allow it to cool completely.
- Make the Ganache: Heat heavy cream in a saucepan until it just begins to simmer. Pour it over chopped premium chocolate and let stand for 2 minutes.
- Stir to Smooth Perfection: Mix the chocolate and cream until smooth and glossy. Add a splash of vanilla extract for extra depth.
- Prepare the Honeycomb: In a clean, dry pan, melt sugar over medium heat, stirring continuously until it turns a deep amber color.
- Add Baking Soda: Quickly stir in a pinch of baking soda to create a frothy, aerated texture. Pour the mixture onto a lined baking sheet and let it harden.
- Break the Honeycomb: Once cooled, break the honeycomb into rough, irregular pieces for a rustic appearance.
- Assemble the Tart: Pour the warm ganache into the pre-baked tart shell, smoothing it out with a spatula.
- Layer the Honeycomb: Evenly scatter the honeycomb pieces over the ganache while it is still soft, pressing lightly to ensure they adhere.
- Chill and Serve: Refrigerate the tart for at least 2 hours until fully set. Garnish with a dusting of cocoa powder or a drizzle of caramel just before serving.
5. Expert Cooking Techniques and Tips
Even the most carefully planned recipes can benefit from a few expert insights. Here are some techniques and actionable tips to perfect your tart.
5.1. Temperature Control and Timing
Maintaining the correct temperatures is critical, especially when working with sugar and chocolate. Use a reliable candy thermometer when preparing the honeycomb and ensure your cream is not too hot when mixing with chocolate to prevent burning.
5.2. Balancing Sweet and Salty Flavors
A small pinch of sea salt sprinkled over the finished tart can transform the dessert, cutting through the sweetness and highlighting the chocolate’s rich complexity. Consider experimenting with different salts—like fleur de sel—for an elevated taste experience.
5.3. Troubleshooting Common Issues & Actionable Tips
Here are five actionable tips to help ensure your dessert turns out perfectly:
- Tip 1: If your ganache appears grainy, gently reheat it in a double boiler while stirring continuously.
- Tip 2: For a crunchier honeycomb, allow it to cool in a cool, dry area rather than the refrigerator.
- Tip 3: Use room temperature ingredients when assembling the tart to prevent the ganache from firming up too quickly.
- Tip 4: If the tart shell cracks, press the biscuit base firmly with your fingers before baking.
- Tip 5: Always have a clean, dry work surface when handling sugar to prevent crystallization.
These tips not only address common challenges but also empower you to customize the recipe to your taste and environment.
6. Real-World Case Study: Transforming a Bakery’s Signature Dessert
Innovation in the kitchen isn’t confined to home cooking—professional bakeries are constantly reinventing classic recipes. One notable example comes from a renowned bakery in San Francisco that revamped its dessert menu with a bold, new approach.
6.1. Background and Challenge
In early 2024, this bakery faced stiff competition from upscale dessert shops. Their signature chocolate tart, though popular, was seen as too conventional in a market craving innovation. The bakery’s head pastry chef was tasked with creating a dessert that maintained the beloved elements of a classic chocolate tart while introducing a modern twist to capture a broader audience.
6.2. Implementation and Execution
The chef experimented with various textures and flavor pairings before landing on the idea of incorporating a honeycomb crunch. After several iterations, the final recipe balanced the deep, smooth chocolate ganache with the unpredictable texture of homemade honeycomb. The process involved refining each step—from tempering the chocolate to perfecting the honeycomb’s crunch—resulting in a dessert that was both visually striking and delectably complex.
6.3. Outcomes and Lessons Learned
The revamped tart quickly became a bestseller, drawing praise from critics and customers alike. The bakery reported increased foot traffic and a surge in social media buzz, with many patrons sharing photos of their tart slices online. This case study illustrates how embracing creative culinary techniques and high-quality ingredients can transform a traditional recipe into a modern masterpiece.
7. Frequently Asked Questions – People Also Ask
7.1. What makes this tart different from other desserts?
This dessert uniquely combines a velvety chocolate ganache with an airy, crunchy honeycomb topping, creating a harmonious blend of textures and flavors.
7.2. How do I achieve the perfect honeycomb crunch?
Precise temperature control and quick mixing with baking soda are key to forming the ideal honeycomb structure without crystallizing.
7.3. Can I substitute ingredients for dietary needs?
Yes, many ingredients can be substituted. For example, you can use dairy-free cream and alternative sweeteners to accommodate dietary restrictions.
7.4. What type of chocolate is best for this tart?
Premium chocolate with at least 70% cocoa content is recommended for a deep, rich flavor and smooth ganache.
7.5. How do I store the tart for maximum freshness?
Store the tart in an airtight container in the refrigerator for up to three days. Let it come to room temperature before serving for optimal flavor.
7.6. Is this recipe suitable for special occasions?
Absolutely. Its elegant presentation and unique flavor profile make it ideal for celebrations, dinner parties, or as a gourmet treat any day.
7.7. What are the nutritional benefits of this dessert?
While indulgent, the tart provides antioxidants from the dark chocolate and can be made with high-quality ingredients that offer some nutritional benefits when enjoyed in moderation.
7.8. How long does it take to prepare this tart?
The total preparation time is around 3 to 4 hours, including baking, setting, and chilling time, making it a perfect dessert to prepare ahead for events.
8. Key Takeaways
- Innovative Fusion: The tart redefines dessert by combining rich, premium chocolate with a unique honeycomb crunch.
- Detailed Preparation: Ten carefully outlined steps ensure every component—from the tart shell to the ganache and honeycomb—is executed perfectly.
- Expert Techniques: Precise temperature control and balanced flavoring are crucial, with actionable tips to overcome common challenges.
- Real-World Success: A successful case study from a San Francisco bakery demonstrates the dessert’s market appeal and transformative impact.
- Customizable Delight: Ingredient substitutions and creative tweaks make this recipe adaptable for various dietary needs and occasions.
9. Final Thoughts and Future Inspirations
9.1. Encouragement to Experiment
Every great dessert starts as a canvas for experimentation. Don’t be afraid to tweak the proportions or try different types of chocolate and honeycomb recipes. Your unique twist might just become the next big trend in dessert innovation.
9.2. Sharing Your Creations
Imagine hosting a gathering where your homemade tart becomes the star of conversation. Share your results on social media, invite feedback from friends, and enjoy the journey of culinary creativity.
9.3. Staying Inspired in the Kitchen
Innovation thrives on inspiration. Keep exploring new techniques, watch expert tutorials, and even develop your own original graphics or recipe cards. Each dessert you create is a step toward mastering the art of gourmet cooking.

10 Superfoods for Weight Loss: Power Up Naturally
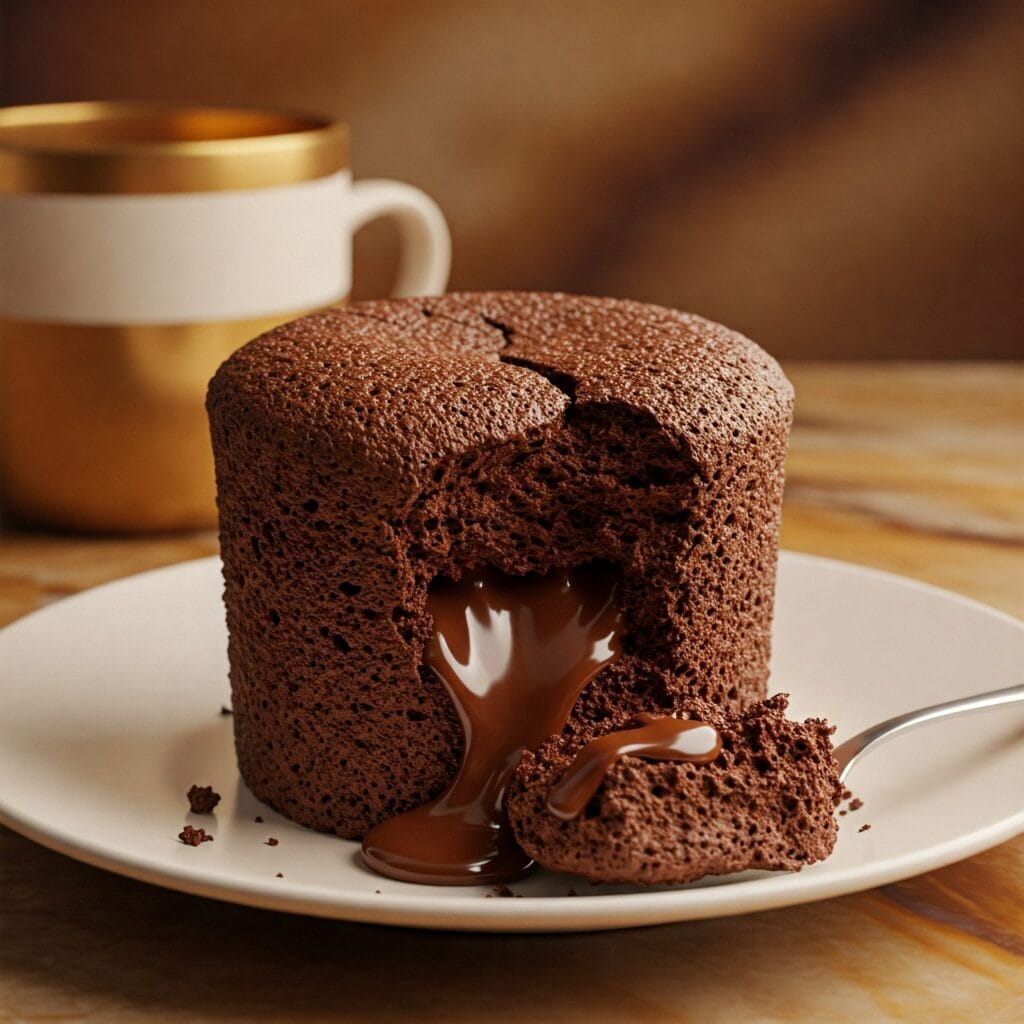
Decadent Microwave Mug Cake with Nutella Core
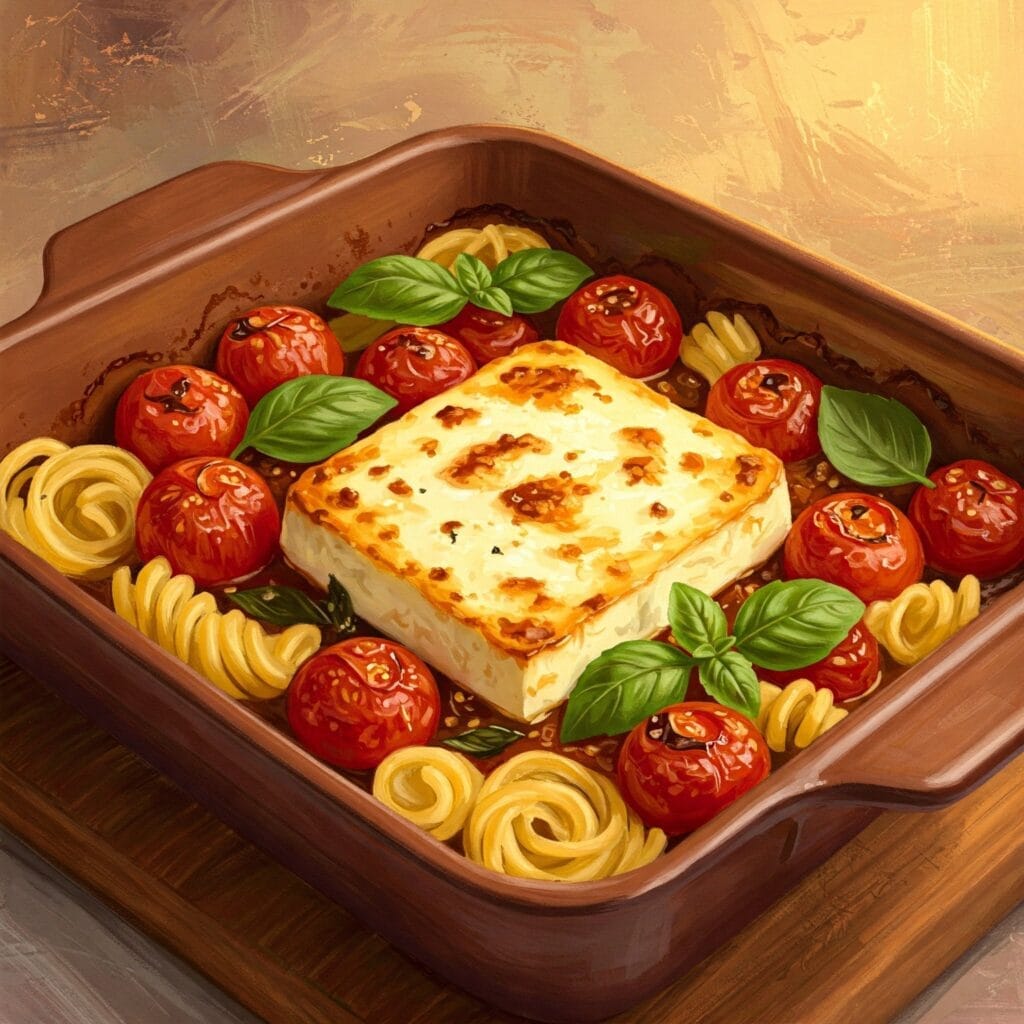
Heavenly Baked Feta Pasta: Cherry Tomatoes Delight

Cloud Bread Breakfast Sandwich: Ultimate Morning Treat
Ultimate Plant-Based Diets: 7 Recipes for Carnivores
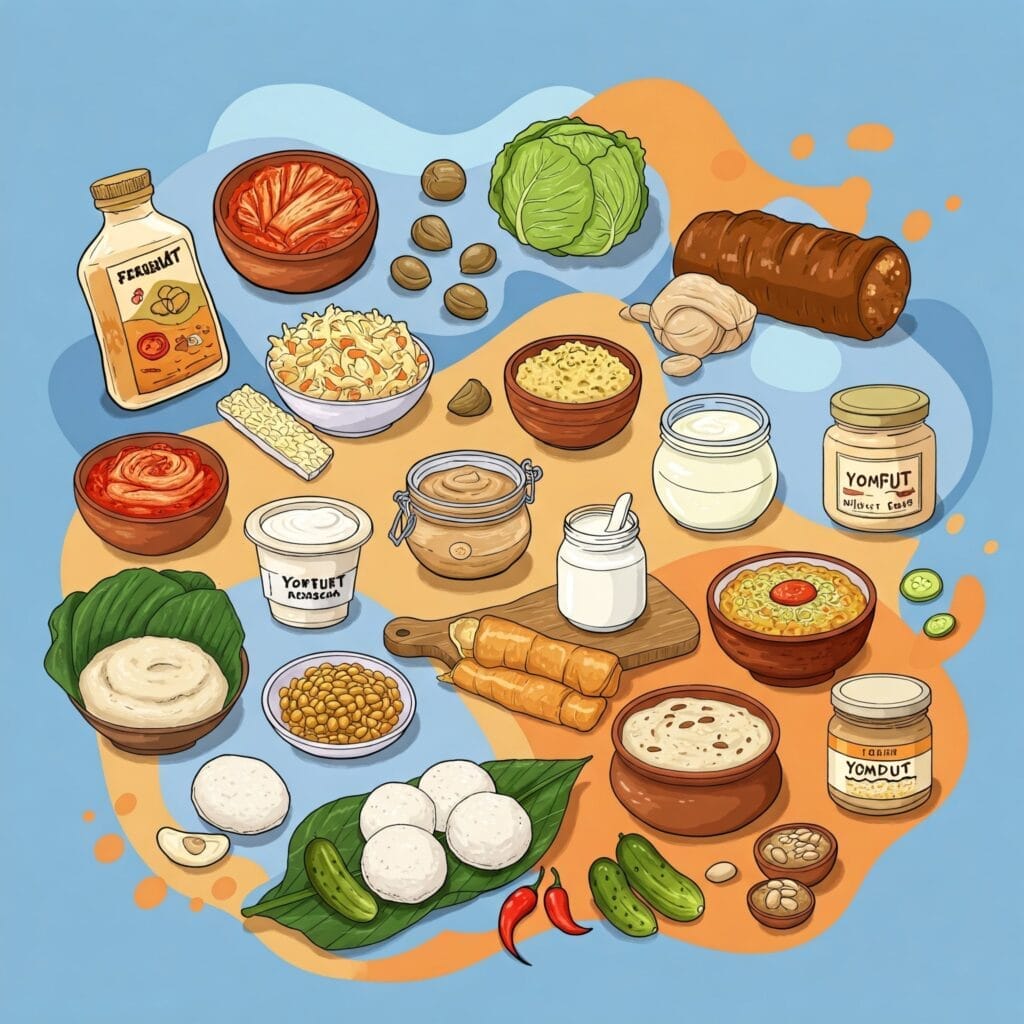
Gut Health Revolution: 10 Fermented Foods to Add to Your Diet
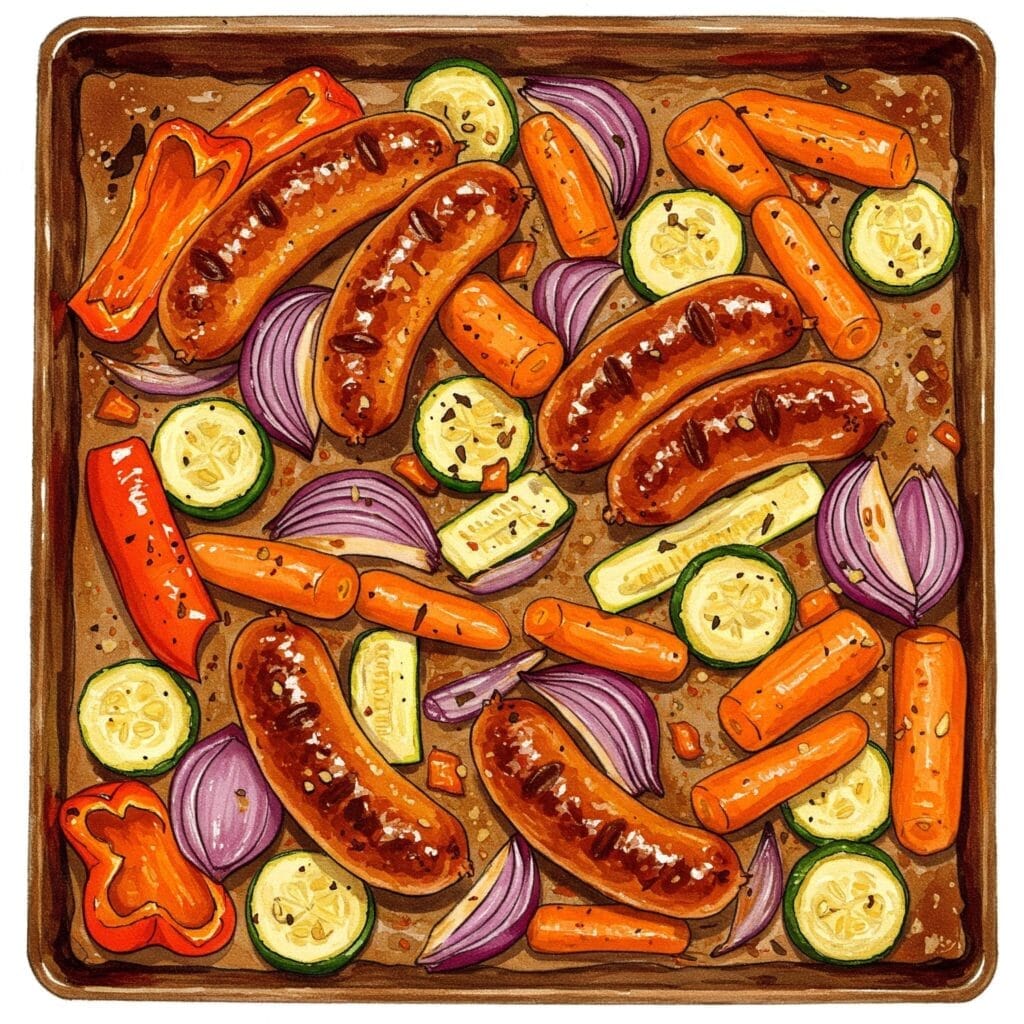
Irresistible Sheet Pan Sausage & Rainbow Veggies
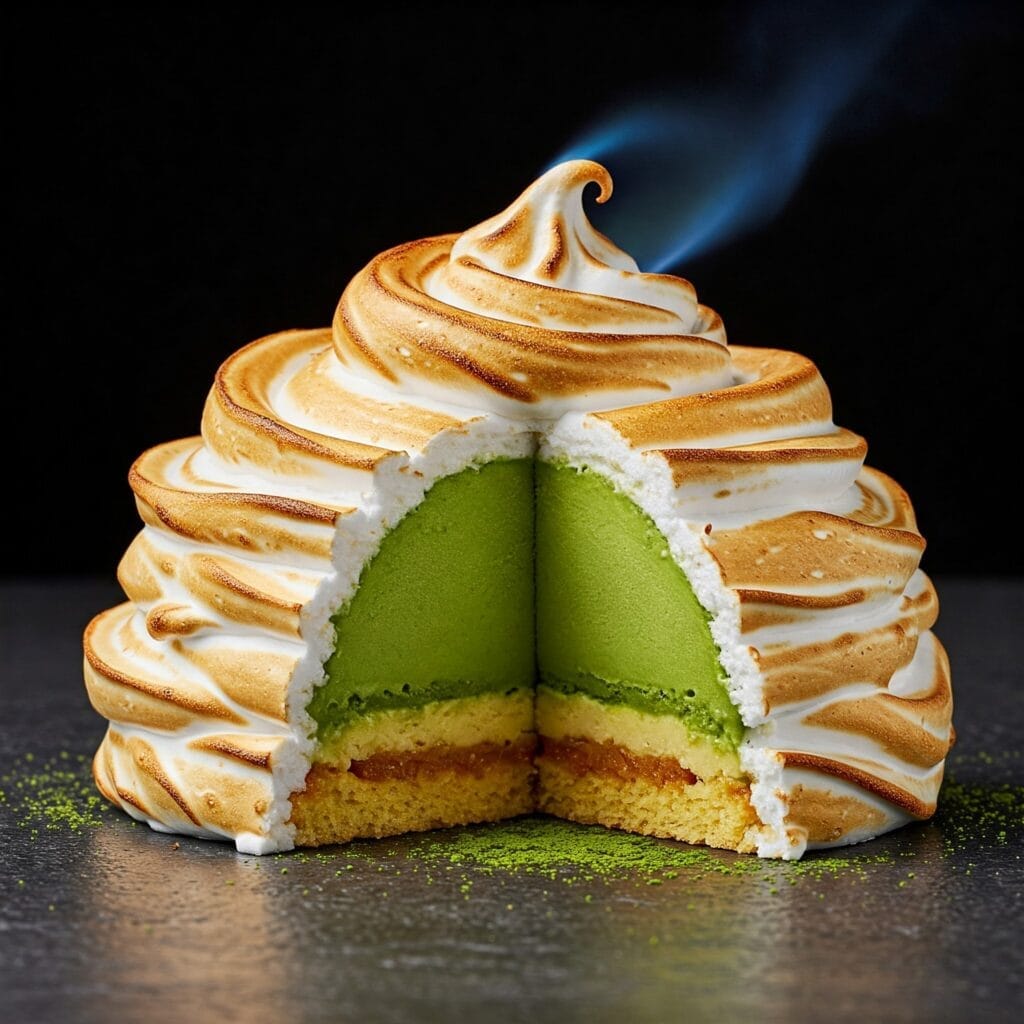
Epic Baked Alaska with Matcha Ice Cream