Quick & Irresistible 15-Minute Kimchi Fried Rice
Savor our 15-Minute Kimchi Fried Rice – a quick, spicy fried rice recipe bursting with bold flavors. Try it today!
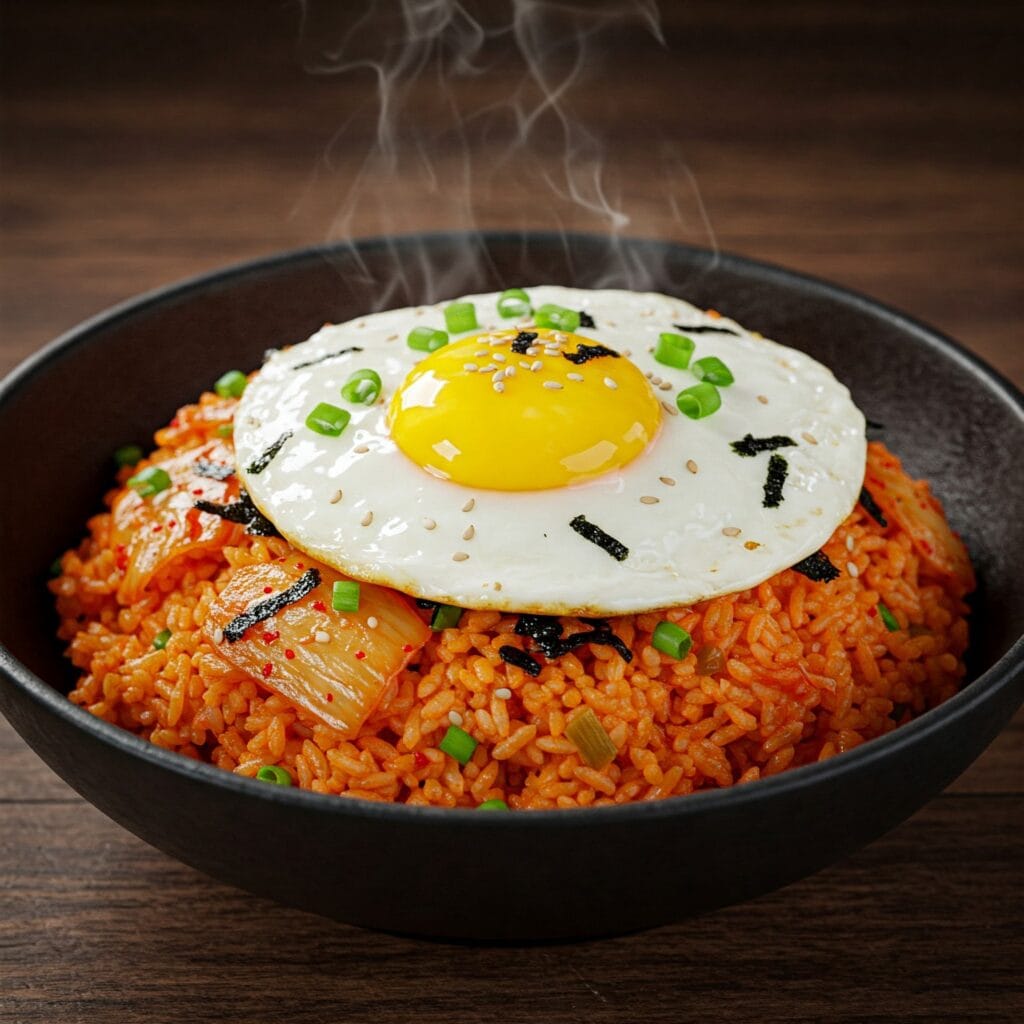
Table of Contents:
- Introduction to Quick Asian Comfort Food
1.1. Setting the Scene
1.2. The Inspiration Behind This Dish
1.3. Nutritional Perks - Essential Ingredients and Their Benefits
2.1. Kimchi: The Spicy Fermented Powerhouse
2.2. Rice: The Versatile Base
2.3. Additional Flavor Enhancers - Detailed Food Preparation: 10 Easy Steps to Perfection
3.1. Preparing the Kimchi and Rice
3.2. Step-by-Step Cooking Process
3.3. Bringing It All Together - Cooking Techniques and Actionable Tips
4.1. Temperature Control and Timing
4.2. Flavor Balancing Secrets
4.3. 5 Actionable Tips for Success - Real-World Case Study: From Busy Office Lunch to Culinary Masterpiece
5.1. Background Story
5.2. Recipe Adaptation and Execution
5.3. Results and Lessons Learned - Frequently Asked Questions – People Also Ask About Kimchi Fried Rice
6.1. Common Queries Answered - Key Takeaways
- Final Thoughts and Next Steps
8.1. Inspiring Culinary Creativity
8.2. Next Steps and Personalization
8.3. Encouraging Community Sharing
1. Introduction to Quick Asian Comfort Food
In today’s fast-paced world, finding a meal that is both satisfying and efficient can transform a hectic day into a moment of culinary bliss. Busy schedules demand recipes that are not only delicious but also whip up in no time—offering nourishment, comfort, and a burst of flavor without the wait.
For those days when you crave a hearty, spicy meal without a long cooking session, our signature dish comes to the rescue. Enter the 15-Minute Kimchi Fried Rice—a speedy yet flavor-packed creation that embodies the best of traditional Korean zest and modern quick-cooking techniques. This recipe marries the tang of fermented kimchi, the heartiness of perfectly steamed rice, and a medley of savory seasonings to create a dish that is both accessible and unforgettable.
2. Essential Ingredients and Their Benefits
Understanding the power of each ingredient is key to crafting a dish that resonates with both taste and nutrition. This section dives into what makes this recipe special.
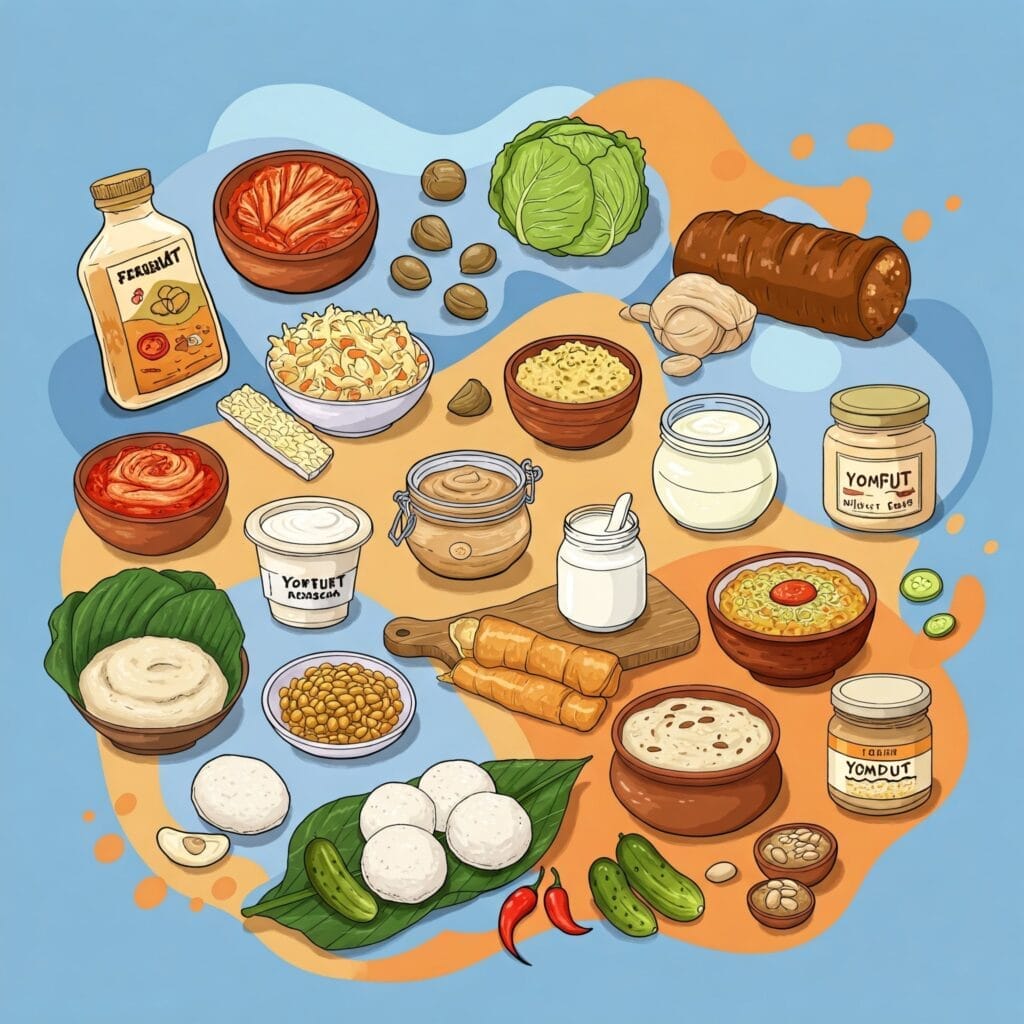
2.1. Kimchi: The Spicy Fermented Powerhouse
Kimchi is more than just a condiment—it’s a fermented treasure rich in probiotics, vitamins, and a bold punch of spice. Its tangy, slightly sour flavor not only awakens your taste buds but also aids digestion. Fermentation enhances its nutritional profile, making it a superfood in many kitchens. This ingredient sets the foundation of our dish by imparting an unmistakable spicy tang that lifts the overall flavor.
2.2. Rice: The Versatile Base
Rice is the quintessential base in many Asian cuisines. Its neutral flavor acts as a perfect canvas for the robust flavors of kimchi and additional seasonings. In this recipe, pre-cooked rice (preferably day-old for better texture) is quickly transformed into a flavorful medium that soaks up every nuance of the sauce, ensuring each grain is imbued with deliciousness.
2.3. Additional Flavor Enhancers
Complementary ingredients such as garlic, sesame oil, scallions, and soy sauce contribute layers of flavor and aroma. Garlic offers a warm, savory depth, while sesame oil provides a nutty finish. Scallions lend a fresh crunch, and a splash of soy sauce ties everything together with an umami boost. These elements work in concert to elevate the dish from simple fried rice to a gourmet experience.
3. Detailed Food Preparation: 10 Easy Steps to Perfection
Transforming a few simple ingredients into a delicious meal in just 15 minutes might sound challenging, but with the right approach, it becomes a culinary adventure. Here’s a detailed breakdown of the process:
3.1. Preparing the Kimchi and Rice
- Gather Your Ingredients: Ensure you have all your essentials at hand: pre-cooked rice (preferably refrigerated overnight), well-fermented kimchi, garlic, scallions, soy sauce, sesame oil, and your protein of choice (optional for extra heartiness).
- Chop the Kimchi: Slice the kimchi into bite-sized pieces. If your kimchi comes with extra liquid, reserve it—it’s packed with flavor and can be added later to adjust consistency.
- Mince the Garlic: Finely chop two to three cloves of garlic. The aroma released during cooking is key to building the dish’s savory base.
3.2. Step-by-Step Cooking Process
- Heat the Pan: Warm a large skillet or wok over medium-high heat. Add a teaspoon of sesame oil to coat the bottom.
- Sauté the Garlic: Toss in the minced garlic and stir for about 30 seconds until fragrant. Avoid burning it to maintain a subtle, savory note.
- Add the Kimchi: Introduce the chopped kimchi to the pan. Sauté for 2–3 minutes to let the flavors meld and the kimchi slightly caramelize.
- Incorporate the Rice: Add your pre-cooked rice into the pan. Break apart any clumps and stir continuously to ensure every grain is coated with the kimchi mixture.
- Season Generously: Drizzle in soy sauce (start with a tablespoon and adjust to taste) and a dash of the reserved kimchi juice. Stir well to infuse the rice with a rich umami flavor.
- Mix in Scallions: Add chopped scallions for a burst of freshness. This not only elevates the aroma but also adds a textural contrast to the dish.
- Finish with a Drizzle of Sesame Oil: Right before serving, add another small drizzle of sesame oil to bring all the flavors together, and give one final stir.
3.3. Bringing It All Together
Within these ten straightforward steps, the dish transforms into a harmony of spicy, tangy, and savory notes. Each stage of the process is designed for maximum flavor in minimal time, ensuring that even on the busiest days, you can enjoy a nutritious and satisfying meal.
4. Cooking Techniques and Actionable Tips
Mastering the art of quick cooking requires attention to detail and an understanding of key techniques. Below, we delve into some strategies that can help you perfect your fried rice and ensure consistent results every time.
4.1. Temperature Control and Timing
The secret to achieving the ideal texture in this dish lies in managing your cooking temperature and timing. Using a high-heat pan briefly sears the garlic and kimchi without overcooking, preserving their distinct flavors. Simultaneously, stirring the rice frequently prevents sticking and promotes even distribution of flavors.
4.2. Flavor Balancing Secrets
Balancing flavors is essential. Too much soy sauce can overwhelm the tang of the kimchi, while too little might leave the dish bland. A splash of reserved kimchi juice adds both moisture and an extra punch of flavor. Taste as you go and adjust seasoning gradually to hit that perfect balance between savory, spicy, and umami.
4.3. 5 Actionable Tips for Success
- Tip 1: Use day-old rice. Freshly cooked rice is too moist and can turn your fried rice mushy.
- Tip 2: Reserve a little kimchi juice to adjust the consistency and add extra tang later.
- Tip 3: Pre-chop all your ingredients before you start cooking to streamline the process.
- Tip 4: Maintain a high enough heat to quickly fry ingredients without stewing them.
- Tip 5: Experiment with additional garnishes like toasted sesame seeds or a fried egg to personalize your dish.
5. Real-World Case Study: From Busy Office Lunch to Culinary Masterpiece
5.1. Background Story
Consider the story of Jamie, a busy marketing executive in downtown Chicago, who was constantly seeking quick and nutritious lunch options. With back-to-back meetings and tight deadlines, Jamie struggled to find time to prepare a wholesome meal. The discovery of a rapid fried rice recipe sparked a small culinary revolution in their routine.
5.2. Recipe Adaptation and Execution
Jamie adapted this quick fried rice concept by incorporating traditional Korean ingredients into their regular lunch routine. With a well-stocked pantry, Jamie followed the streamlined 10-step process during a hectic lunch break. Not only did this save valuable time, but it also injected a burst of energy and flavor into the day. The simplicity of the method allowed for experimentation—adding a fried egg on top one day, or tossing in extra vegetables the next, ensuring the dish remained exciting and fresh.
5.3. Results and Lessons Learned
The outcome was transformative. Jamie’s colleagues began noticing the vibrancy of these lunches, prompting discussions about quick, nutritious meal options for busy professionals. This case study underscores that even a fast-paced lifestyle can accommodate gourmet-level dishes with minimal effort. The success of Jamie’s 15-Minute Kimchi Fried Rice not only improved daily energy levels but also inspired a broader shift toward creative, time-efficient cooking among peers.
6. Frequently Asked Questions – People Also Ask About Kimchi Fried Rice
6.1. What is the origin of kimchi fried rice?
Kimchi fried rice originates from Korea, where it’s known as “kimchi bokkeumbap.” It was traditionally a way to use up leftover kimchi and rice while infusing the meal with vibrant, tangy flavors.
6.2. Can I adjust the spice level?
Absolutely. If you prefer a milder taste, reduce the amount of kimchi or opt for a less spicy variety. Adding a dollop of plain yogurt can also help balance the heat.
6.3. Is it possible to add protein to this dish?
Yes. Many variations include proteins like tofu, shrimp, or even a fried egg. Experiment with your favorite protein sources to enrich the dish further.
6.4. What type of rice works best?
Day-old, cold rice is ideal as it prevents clumping and absorbs flavors better during stir-frying. Short or medium-grain rice is most commonly used.
6.5. How do I store leftovers?
Store any leftovers in an airtight container in the refrigerator for up to 2 days. Reheat in a skillet over medium heat to maintain the texture.
6.6. Can I make this dish entirely vegetarian or vegan?
Yes, by using tofu or simply omitting animal-based proteins, this dish can easily be adapted to suit a vegetarian or vegan diet.
6.7. How can I make the dish more nutritious?
Add extra vegetables such as carrots, peas, or spinach for additional fiber and vitamins. You can also incorporate a variety of spices to boost antioxidant content.
6.8. What is the best way to reheat fried rice?
For best results, reheat on the stovetop rather than in a microwave. This helps maintain a pleasant texture and evenly redistributes the flavors.
7. Key Takeaways
- Speed and Flavor: This dish demonstrates that a quick, 15-minute meal can be both nutritious and bursting with flavor.
- Ingredient Harmony: The blend of fermented kimchi, day-old rice, and complementary seasonings creates a unique balance of tangy, savory, and spicy notes.
- Efficiency in the Kitchen: With just ten focused steps and a few actionable tips, busy cooks can achieve restaurant-quality results at home.
- Customizable and Versatile: Whether you’re adding extra protein, vegetables, or garnishes, the recipe offers endless variations to suit your taste.
- Real-World Impact: As evidenced by real-life success stories, this dish not only saves time but also transforms everyday meals into culinary experiences.
8. Final Thoughts and Next Steps
8.1. Inspiring Culinary Creativity
Imagine the satisfaction of turning a handful of simple ingredients into a vibrant dish that not only nourishes but also excites your palate. This recipe embodies the spirit of creativity—proving that even on the busiest days, great food is just minutes away.
8.2. Next Steps and Personalization
Now that you’ve mastered the core technique, consider personalizing your version of this fried rice. Experiment with different types of kimchi, add seasonal vegetables, or try an unexpected protein twist. Every tweak can open up a new world of flavors, making the dish truly your own.
8.3. Encouraging Community Sharing
The beauty of cooking lies in sharing—not just the food, but the joy of creation. Invite friends or family over for a casual meal, or share your culinary triumphs on social media. Your unique take on this recipe might just inspire someone else to embrace the art of quick, flavorful cooking.

Decadent Neapolitan Ice Cream Terrine
Irresistible Sheet Pan Sausage & Rainbow Veggies
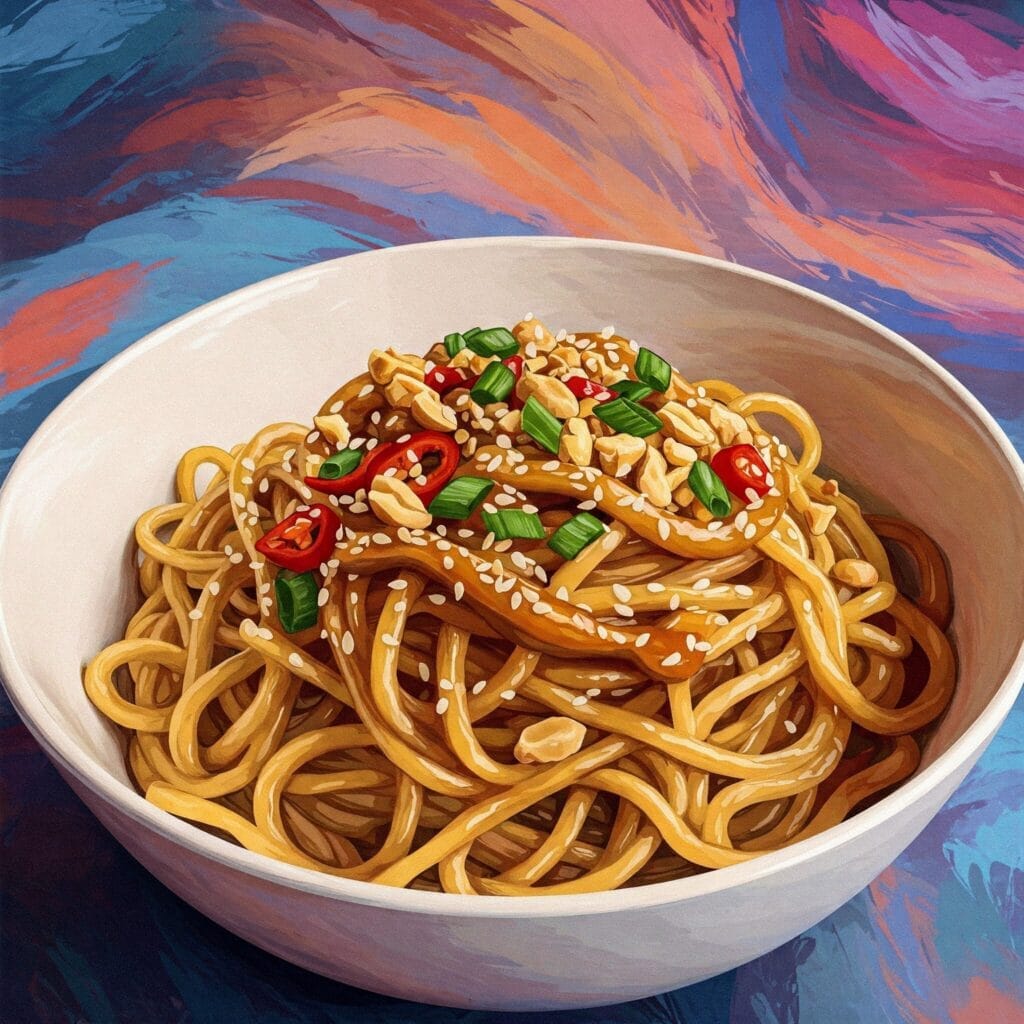
Epic 5-Ingredient Peanut Butter Noodles

Decadent Microwave Mug Cake with Nutella Core

Epic Deconstructed Beef Wellington Bites: A Gourmet Twist
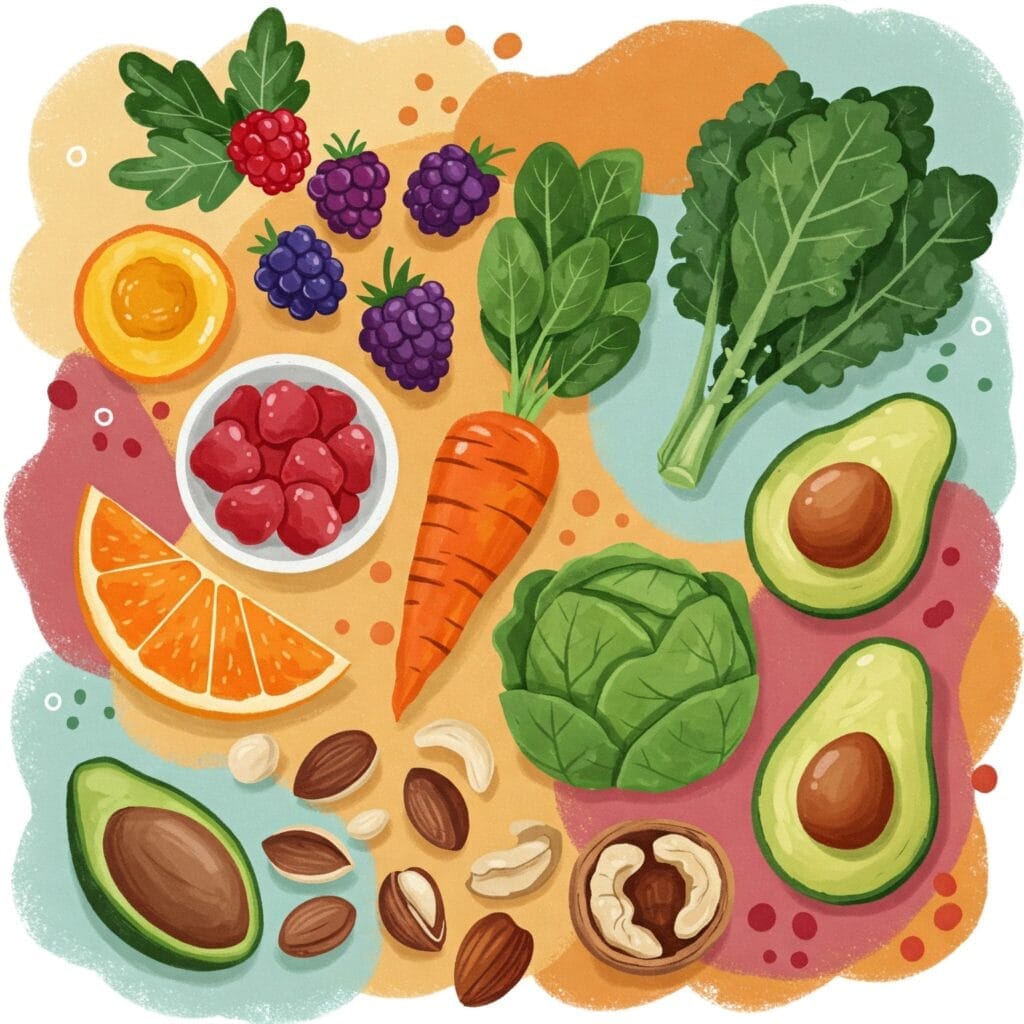
10 Superfoods 2025: Nutritionists’ Must-Have Picks

Unleash Muscle Growth: Indian Superfoods Uncovered

Zesty Blood Orange Olive Oil Cake: A Citrus-Infused Delight